Experimenting in Photoshop

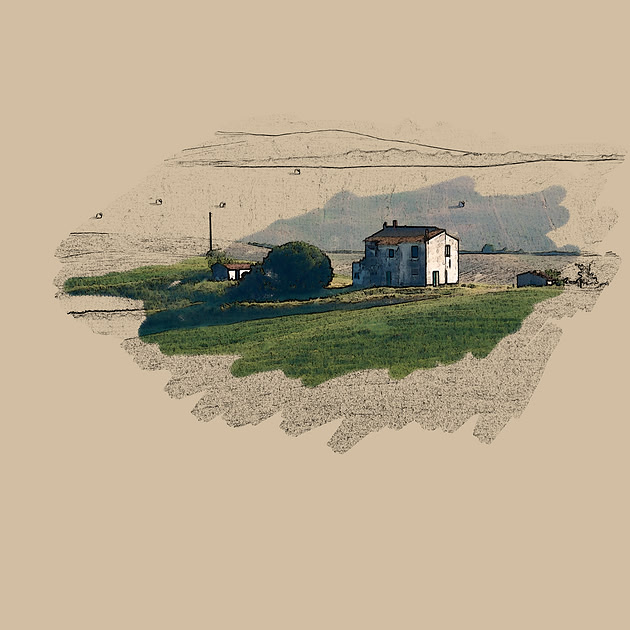

My wife, CJ and I hooked up with some friends to learn some new photo editing apps on our iPads. One app, iColorama, is a very powerful and fun editor. Our friend Terry found out how to make photos look kind of like sketches. She had found an online tutorial and told us about it. I liked the effect and followed that online tutorial to create some sketches of my own. The iColorama tutorial had a link to a Photoshop tutorial that created the same effect. So I just had to try it since I have Photoshop and lots of photos on my computer.
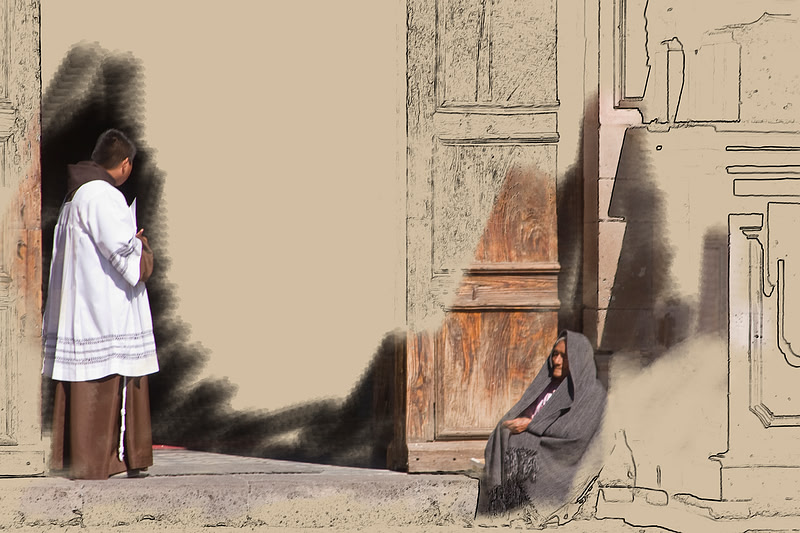 Waiting On Church Steps
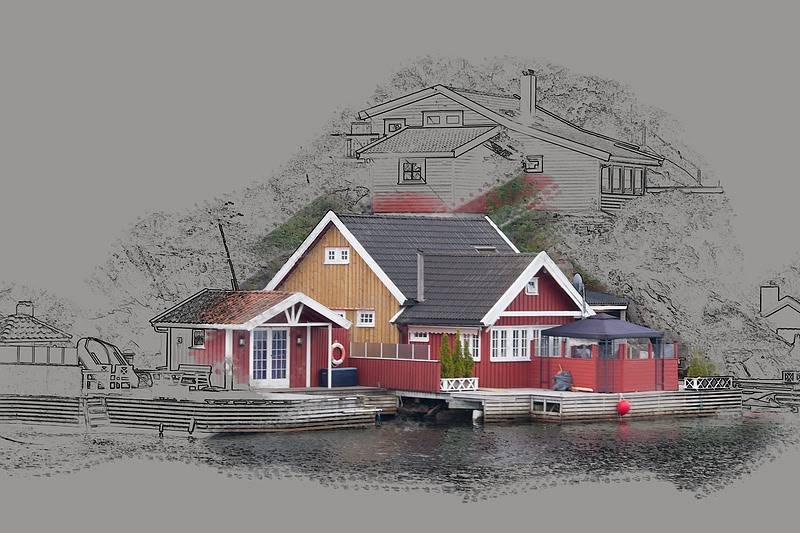
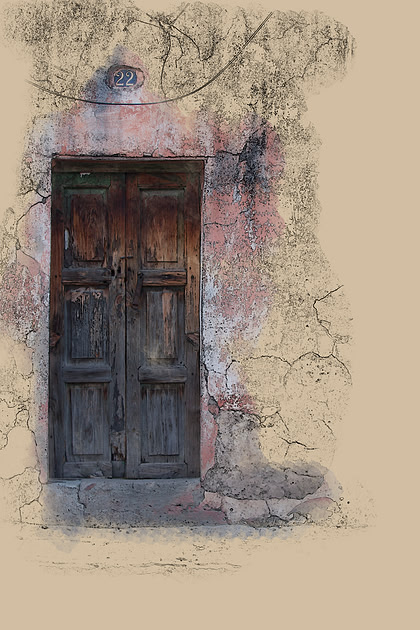
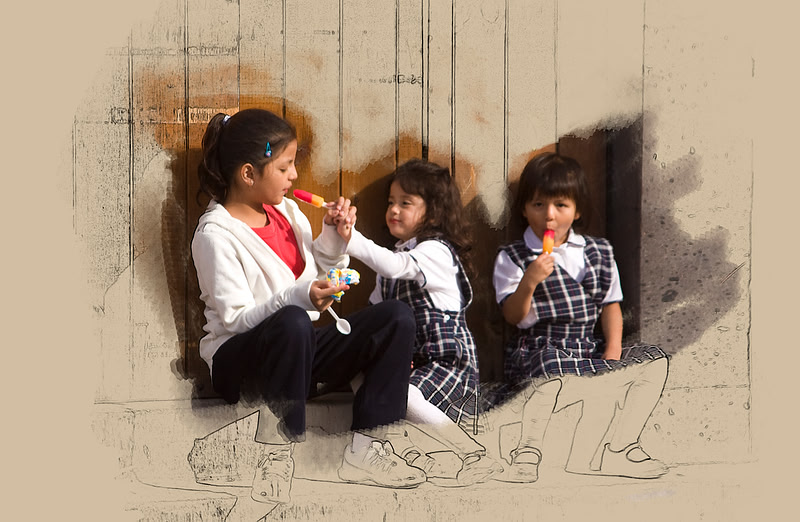
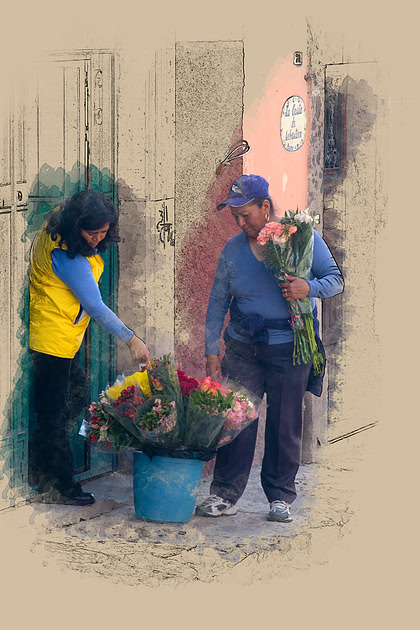
The process starts with a canvas (how to create one is glossed over) onto which you copy your photo. Then you create a mask to hide the photo and erase part of the mask to reveal just some of the photo. Thus it looks like you have "finished" part of a sketch in color. Next comes the lines that make it look like an "unfinished" sketch. The same photo is added as a layer and then its edges are defined. Desaturation removes the color and adjusting the levels makes the lines a little more prominent. Magic, in the form of blending, combines the layers. But one more step is needed. Another layer mask is added to the edges layer hiding everything. Then parts of it are brushed away. You get to choose what lines are revealed and what parts of the photo get no extra line definition. The effect can be cool or yuck! I try not to save the "yucks."
The canvas part got a little confusing at first. The tutorial suggested using a 12 by 12 canvas which is a common size for an artist but a little different for a photographer. I started by making a new document in Photoshop and setting the size to 12 by 12. Then I set its color to a light tan similar to what I saw in the tutorial. The imported photo didn't match the size of the canvas leaving bars at top and bottom. It all worked OK but I thought there must be a better way. With the next photo I copied it after opening it. This puts the photo in a special memory area called the clipboard. Photoshop will use the same dimensions (as what is in the clipboard) for a new document. This way the canvas is the same size as the photo and things work fine with all the rest of the tutorial steps.
Comments
|
January
February
March
April
May
June
July
(3)
August (3)
(5)
September (5)
(4)
October (4)
November
December
|
(1)
January (1)
February
March
(1)
April (1)
(1)
May (1)
(5)
June (5)
(3)
July (3)
(3)
August (3)
(1)
September (1)
October
November
December
|
January
February
March
April
May
June
(1)
July (1)
(1)
August (1)
September
October
(2)
November (2)
December
|
(1)
January (1)
(1)
February (1)
March
April
May
June
July
August
September
October
November
December
|
January
February
March
April
May
June
July
August
September
October
November
December
|
January
February
March
April
May
June
July
August
September
October
November
December
|
January
February
March
April
May
June
July
August
September
October
November
December
|
January
February
March
April
May
June
July
August
September
October
November
December
|
January
February
March
April
May
June
July
August
September
October
November
December
|
January
February
March
April
May
June
July
August
September
October
November
December
|
January
February
March
April
May
June
July
August
September
October
November
December
|
January
February
March
April
May
June
July
August
September
October
November
December
|